Background
The Flashforge Creator Pro X is an early-Makerbot clone that we purchased a bunch of at Ravensbourne because they were pretty solidly built and relatively cheap. Our lower-end 3D printers get a lot of use (and abuse!) by students from all courses, because anyone can take them out, and I find that students often lack the patience required to handle these intricate and temperamental machines.
The going narrative is that 3D printing is accessible and easy, but the reality is that its barely affordable (if you can afford £1000+ machines plus the materials and spare some precious time to calibrate and run the machines) and very time consuming. I’ve heard it described as more of a medium like oil painting than a machine – the analogy is that in oil painting you don’t simply start painting, you need to understand how paints mix, how brushes and other tools are used to apply and remove paint from the canvas. With 3D printing you need to understand the different materials – ABS, many types of PLA – and that means their stickiness to the bed of the machine and each layer during printing; their melting points and cooling times; and any post-printing techniques like removing supports and sanding and even vapour chambers to get a smooth finish.
I found that the Sailfish documentation is a good intro into 3D printing setup, techniques, and issues (Sailfish is the firmware, or software that runs the hardware of most Makerbot-style 3D printers like the Flashforge).
First, troubleshooting – calibrating and troubleshooting the Flashforge took up at least a few days of my time. You need to budget perhaps 1/2 day before you start printing, and if your print fails and the print head bangs around for any length of time you can expect another few hours of re-calibration and bed levelling.
Calibrating
Again, Sailfish has a good discussion of common issues and what might cause them: http://www.sailfishfirmware.com/doc/tuning-slicer-calibration.html
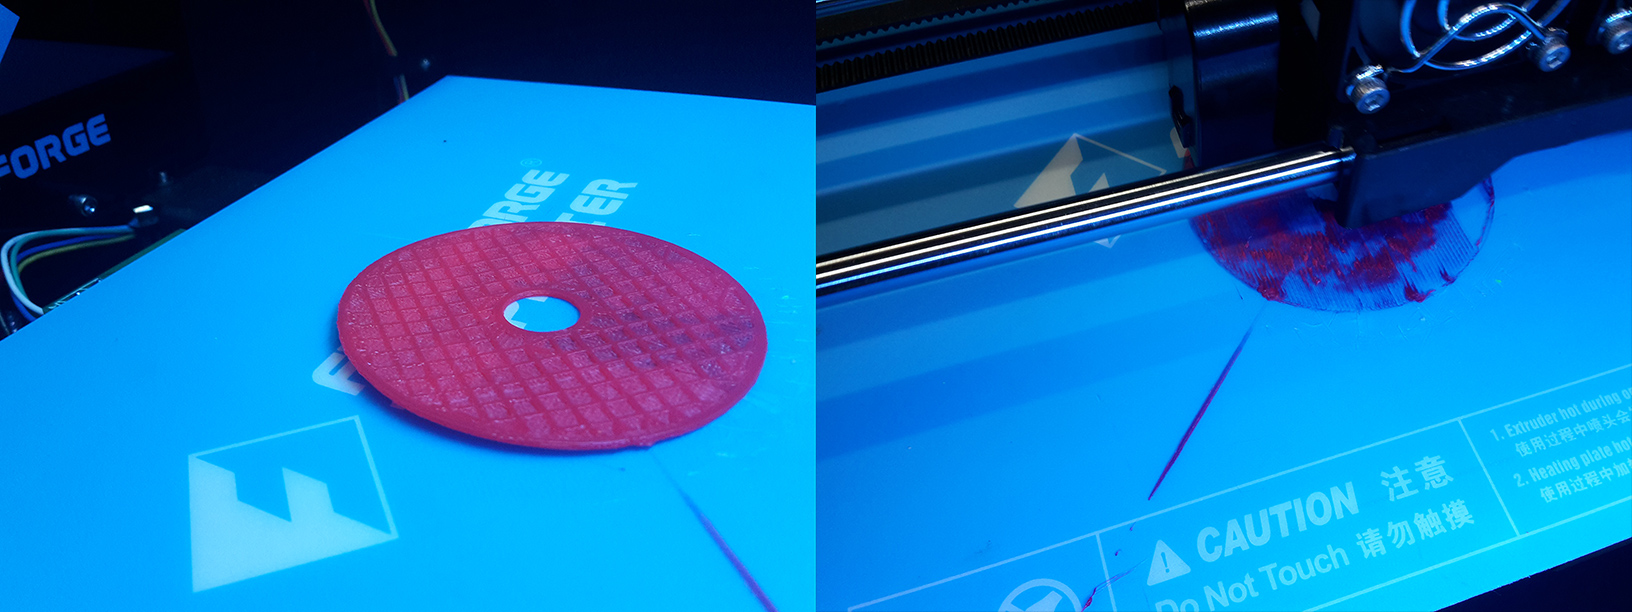
Flashforge has a video about leveling the bed that I found basically useless. What’s a “slight drag?” The Sailfish guide says 0.1mm between extruder nozzle and bed, but that’s quite a difficult distance to measure accurately. Out Technical Tutor and resident 3D Printing expert James Leitch likes to lower the print bed entirely, then bring it up until there is a business-card-thin layer between the print nozzles and the bed. I prefer to run a few calibration prints and tune it on the fly using the 3 sprung screws underneath the build plate (printer bed). I found that it wasn’t enough to tighten them, as sometimes they would just spin. I needed to push down slightly on the build plate with one hand and very, very slowly tighten or loosen the screw with the other to lower or raise it whilst running this calibration print (which, after a little practice, you can do on the fly whilst printing as you see the rectangular corners printing at a slightly wonky angle or the telltale signs of the print bed being too low which are uneven, drippy lines, or the print bed being too high where the plastic lines are smeared or don’t even come out of the nozzle).
I tried this a few times and the default extrusion speed settings are probably too fast to properly print on the Flashforge with such thin lines. I had a LOT of trouble getting it to stick properly to the base at that extrusion speed although at slower speeds I had more luck. Hard to say anything more consistent – it varied with each print and as I tried to level the bed, and because the bed can be a little lumpy and adding blue tape can further cause slight bumps and unevenness and the tolerance is about 0.1-0.2mm it’s very tricky to calibrate!)
Also, I was printing with the left extruder (#2) which took some searching to find that the way to get a print to use that extruder is by clicking on the Info tool in Makerbot Desktop and clicking the model and selecting “extruder 2.”
Another issue was that after some usage the extruders weren’t levelled anymore and the right extruder was dragging across my prints and tearing them off the bed as they were printing! This sounds simple but it took me about 3-4 failed prints to figure out that this was the case and that it wasn’t just the bed being bumpy or not levelled properly.
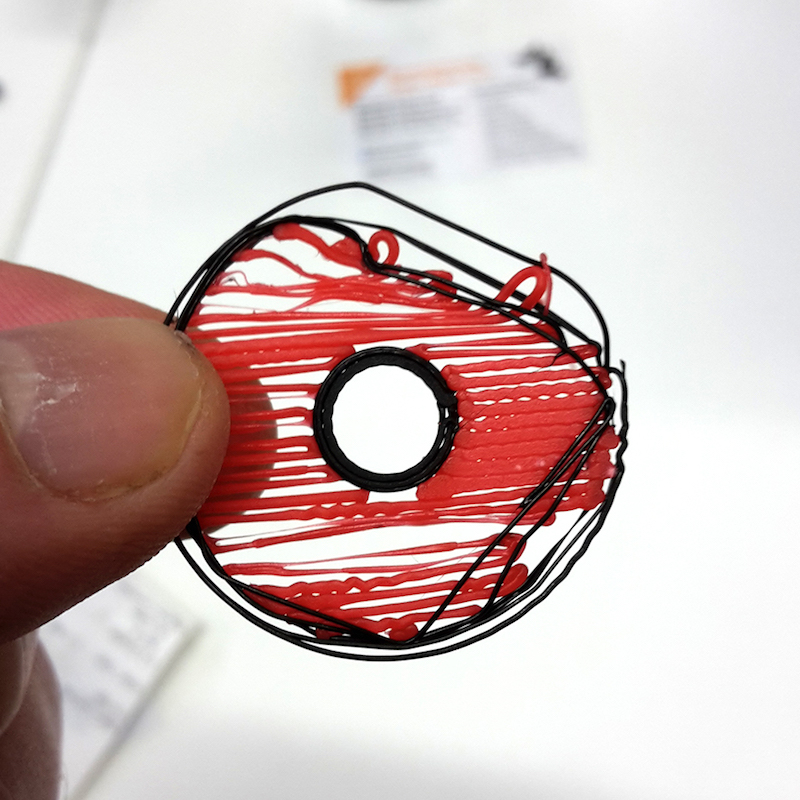
http://3dprintboard.com/showthread.php?2433-Flashforge-Creator-Dual-Pro-How-to-fix-Dual-Extruders-dragging-across-printsI had to take apart the entire extruder mechanism (careful not to lose any screws! They tend to fall in the bottom cage underneath the print bed where you can’t get them out without taking apart the entire assembly underneath!) It was quite difficult to tell what height to level them to (there are no guides or levelling surfaces so I had no idea of how the bed relates to the distance to them) so I levelled them to the black plastic bumper that glides along with them. In retrospect, I should have made sure the nozzles are slightly above the black plastic guide because if they are at the same level it interferes with the prints, and in my tests I found that the nozzle need to have very close contact with the printing bed to get the PLA to stick cleanly and properly.
Materials
The PLA was bending and warping at extrusion temperatures of 218C so I dialled it down to 208C and the curling stopped. Also, the infill and outline extrusion speed needed to be slower. The default infill speed of 90 in Makerbot Desktop (which includes inner perimeters apparently) was shaking the print badly but it was more stable at 60 (after staring at it for awhile, probably 80 is fine… your results may vary) and the outline/perimeter speed of 30 looked pretty solid, although 35 or even 40 also got nice results with a lot of detail.
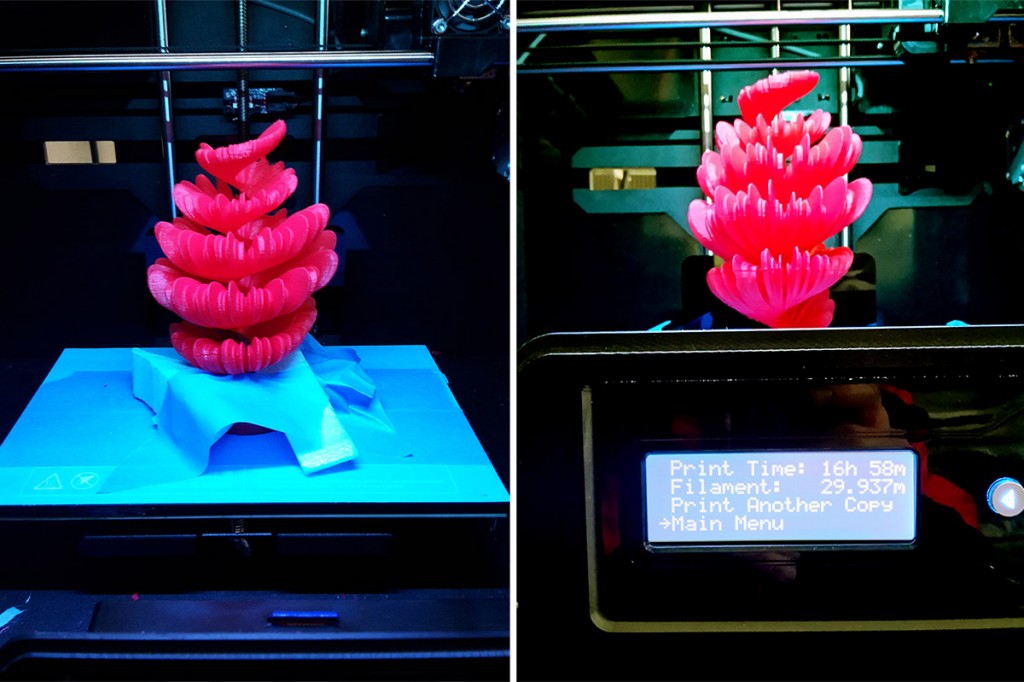
Now it’s looking good! Still a lot of stress as it builds, if it really needs to stretch out with an overhang layer.
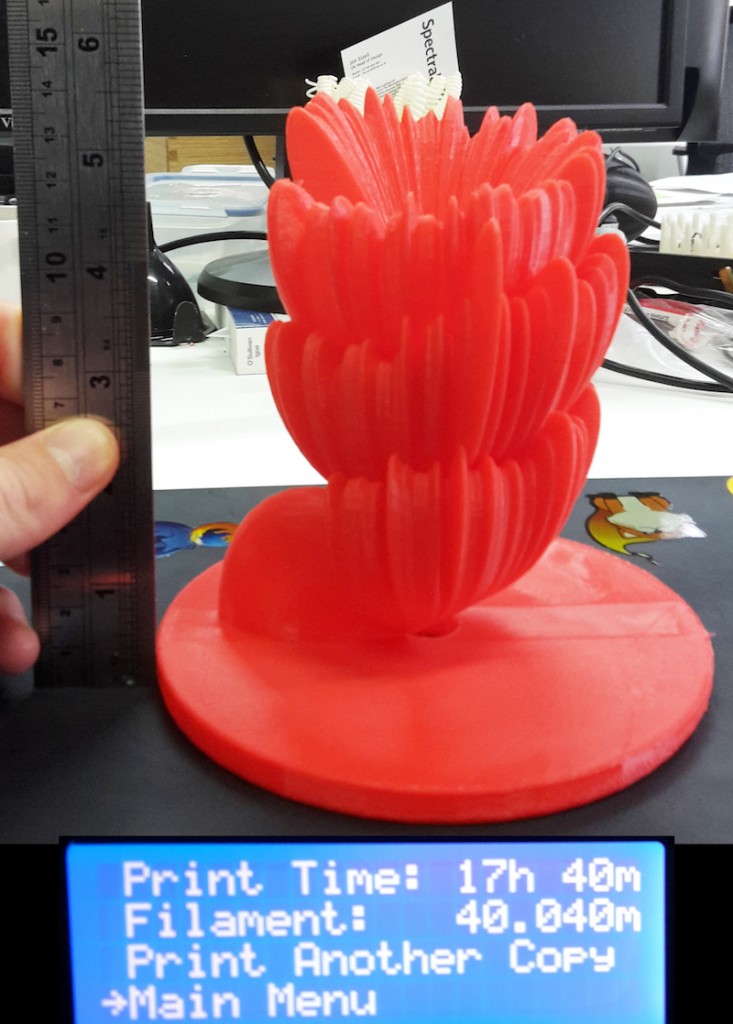
Shaky Prints
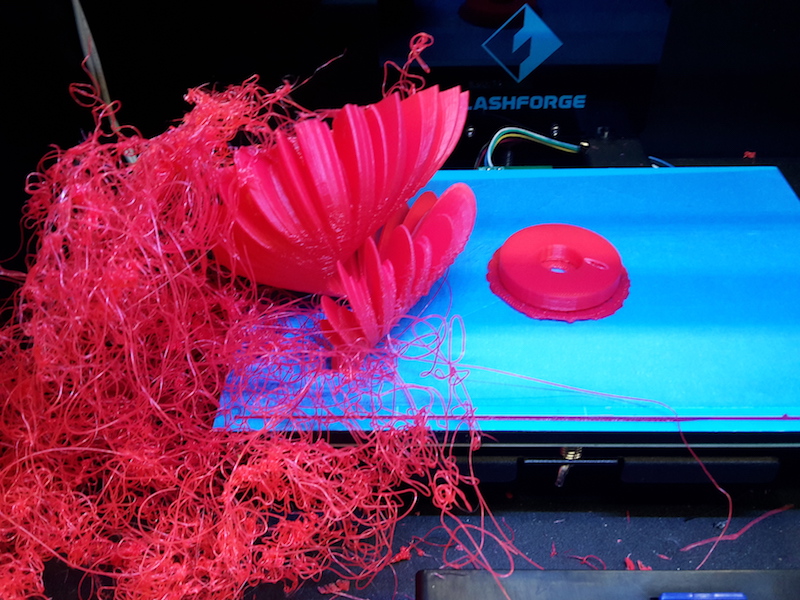
Yet another issue was the shaking and bending of taller spirals – the PLA has quite a lot of give! With small models it resulted in mushy and messy layers as it printed higher up:
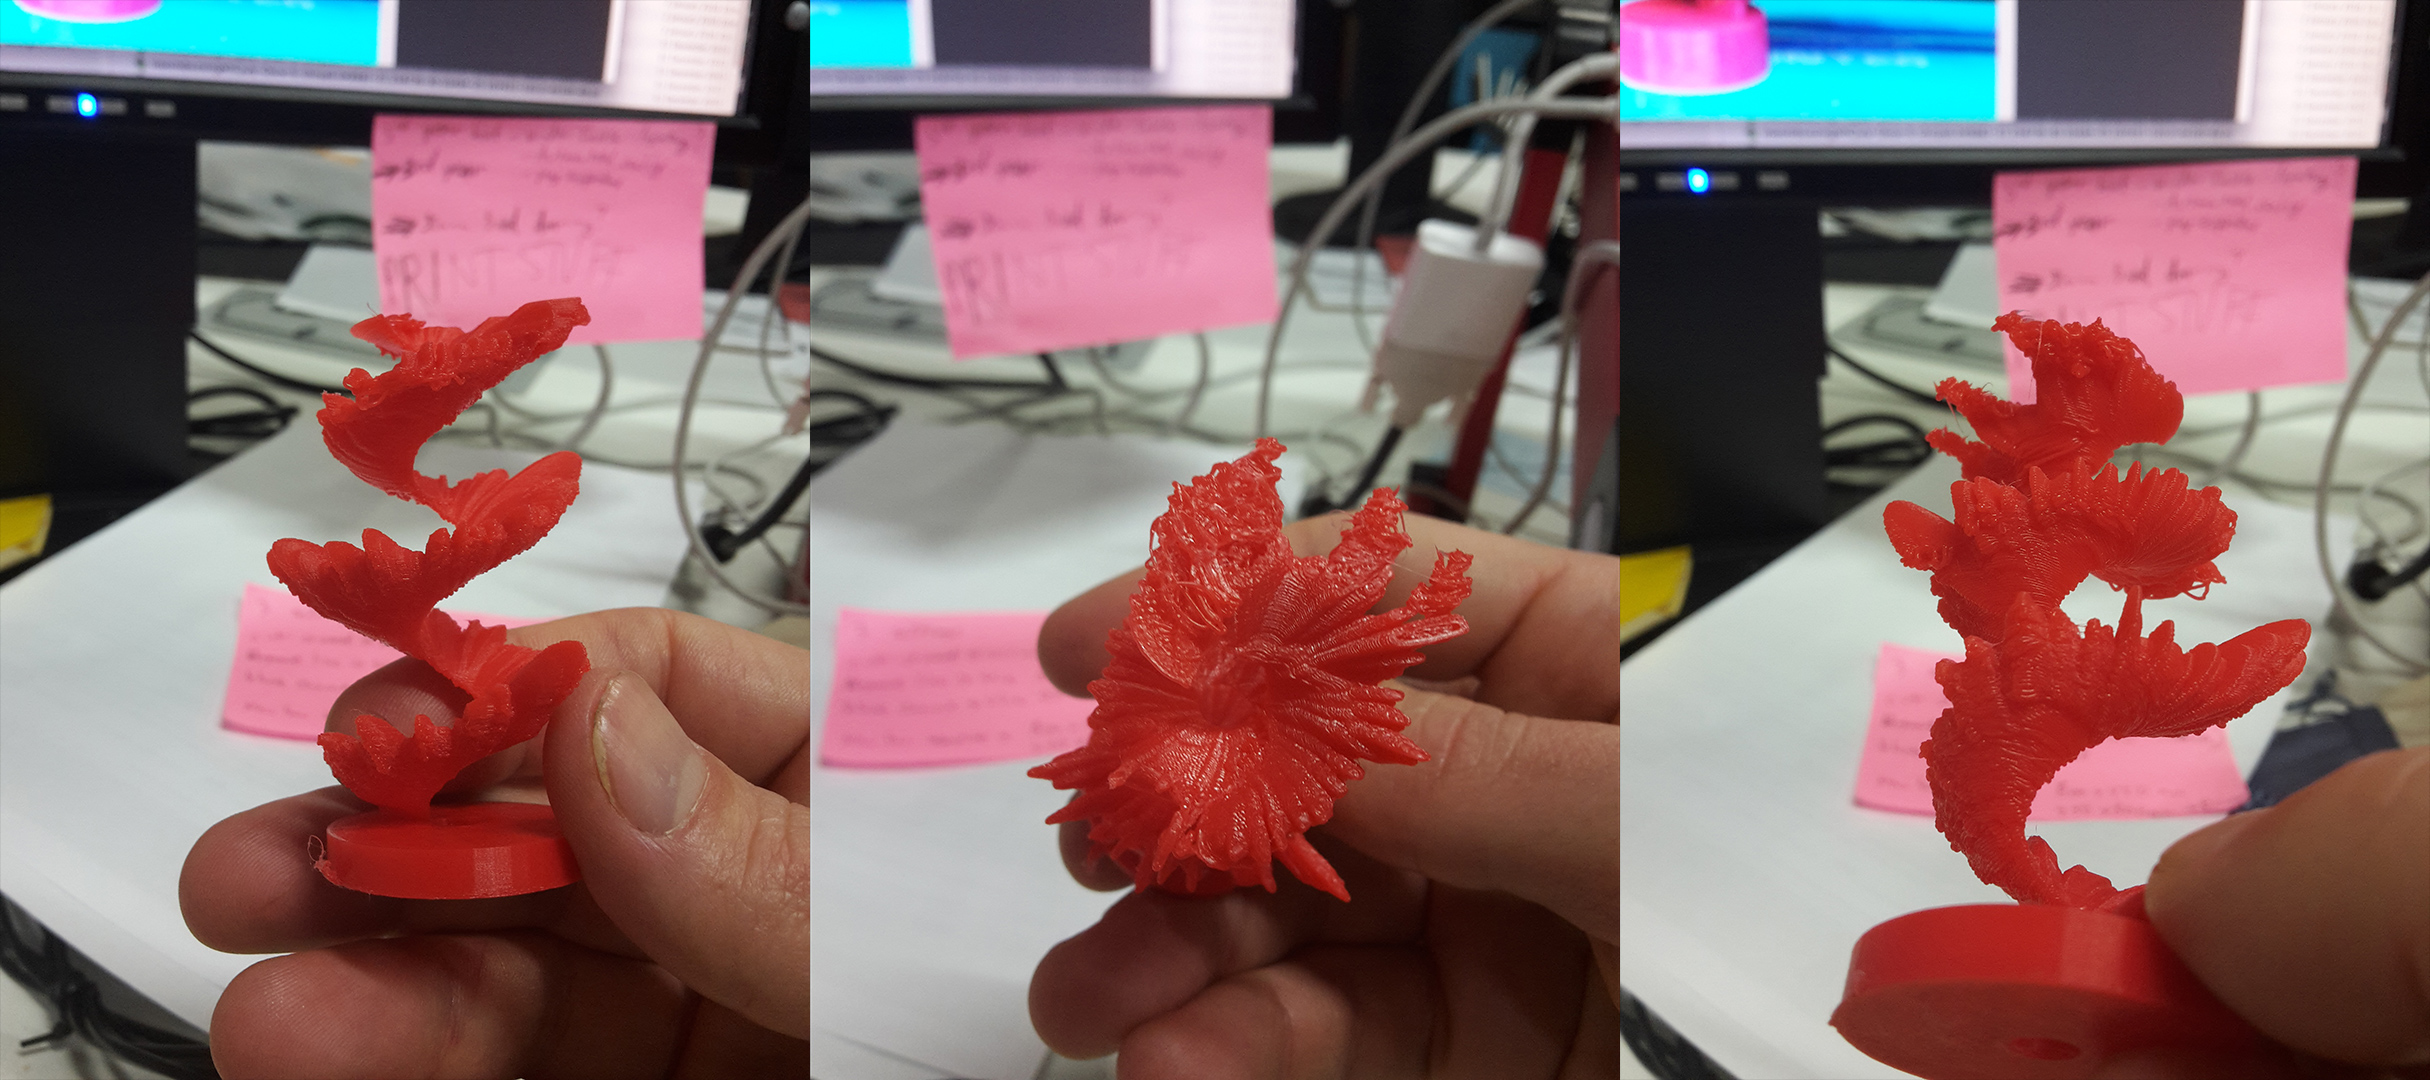
With larger models, it snapped at stress points:
Sam proposed sticking some blue foam in during printing, so I paused the next print and gave it a try:
The downside was that the layer that was printed after I stopped it had a slight gap, but otherwise the print was successful! It was a complex and difficult print, so it’s actually pretty amazing that it worked at all: