I recently gave a talk at the Provocative Plastics conference at the Museum of Design in Plastics at the Arts University Bournemouth. My presentation slides are online, and hopefully the video of the talk will be uploaded soon (as promised).
Currently, The Sound Spirals are made with some custom software fast-prototyped in Processing (yes I still like Java) where you can load in sound files and then “sculpt” them in very specific ways (scale, spikiness, complexity) to create 3D printable sculptures. They are the basis for my new part-time PhD research in Computational Art and Technology at Goldsmiths.
(the video is of an older version)
Part of the project has been to take all the field recordings I’ve made over the past few years and to find a better way of experiencing them. Many of them are insect sounds recorded at night in New York State, and anyone who has listened to the complex orchestration of the nighttime soundscape out in the country has probably sat and tried to make sense of all of the different rhythms beating out from an army of fluttering wings and serrated, scraping limbs.
This project has come quite far from a few years ago (2009-10!), when I was working on the Waving/Drowning installation and first discovered the yin/yang, joy/pain of laser cutting.
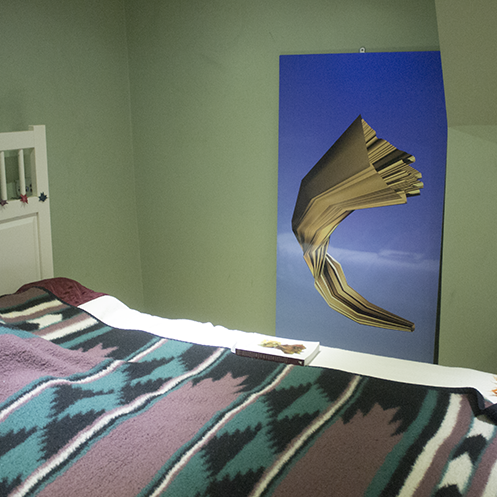
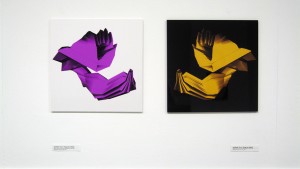
On a side note, Waving/Drowning also taught me that it’s much harder to sell my art than I’d imagined. Part of that was the naivete of thinking people would have space for larger works, such as the 6′ x 4′ (or 2m x 1.2m for my non-US readers) that now sits jauntily by my bedside:
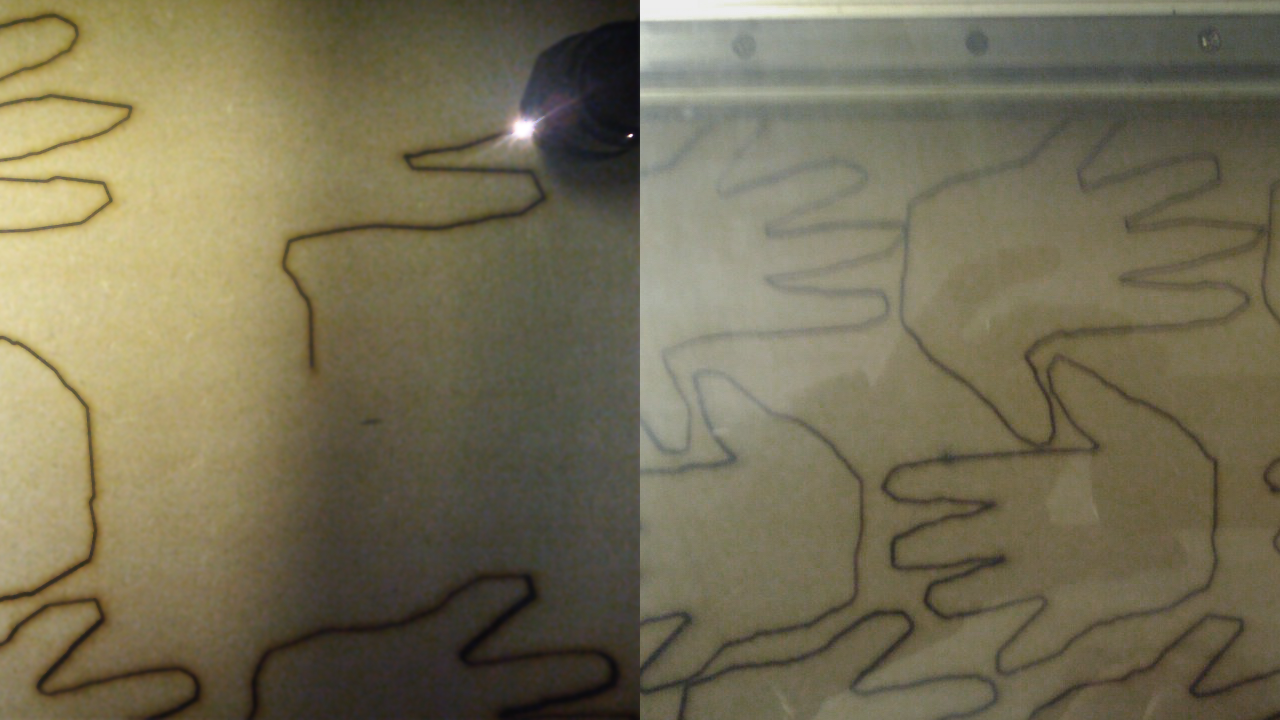
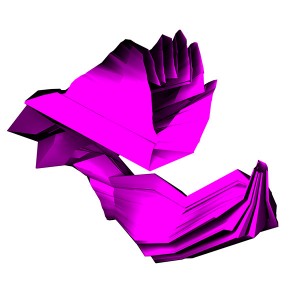
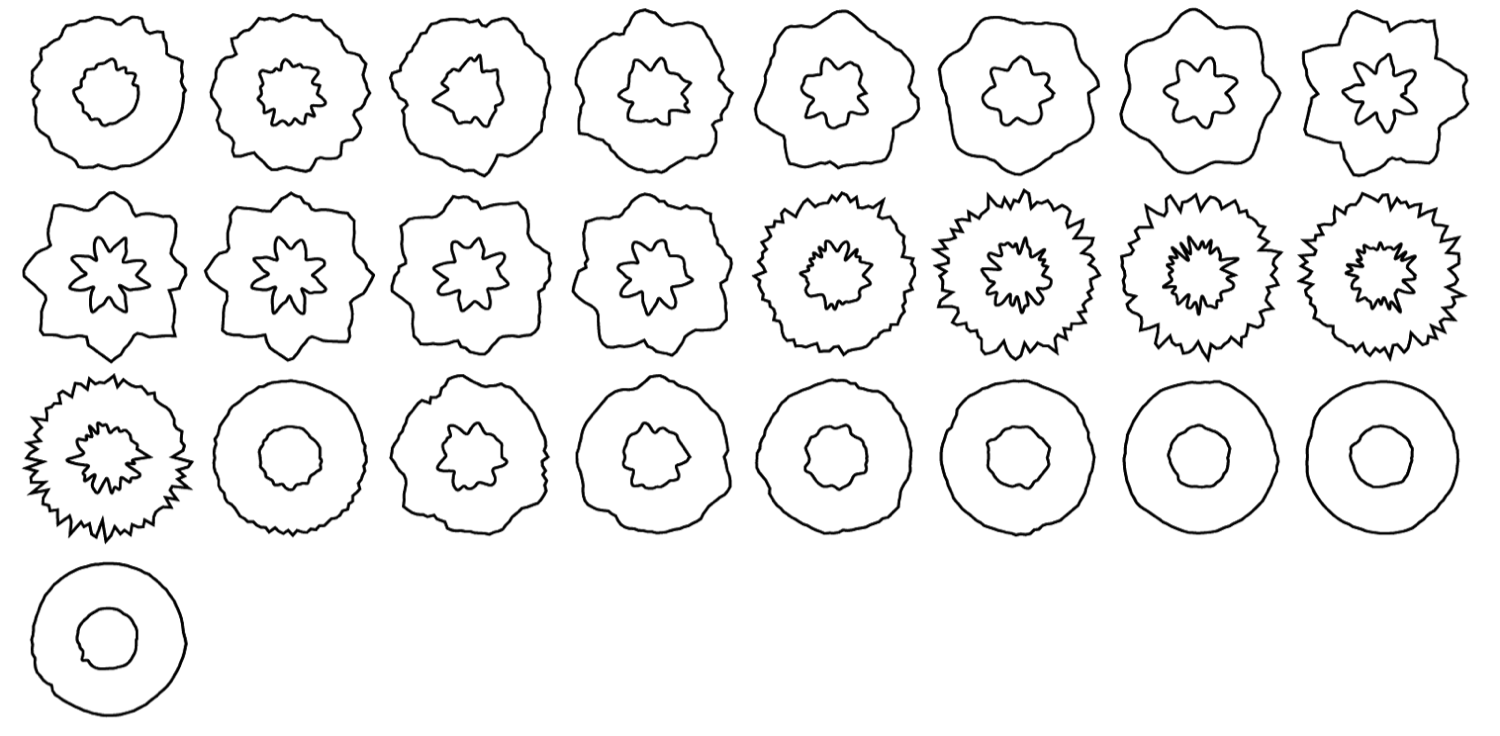
At the time I was using the computer vision library OpenCV and some custom C++ code (based partially in OpenFrameworks) to create outlines of video images and translate them to audio for the oscilloscope. To test the system I used the simplest “object” I had laying around – my own hand. After looking at countless videos of my hand opening and closing I thought “Hey, that’s kind of cool… what if I took those images and tried to reconstruct that gesture as a solid, physical object?”
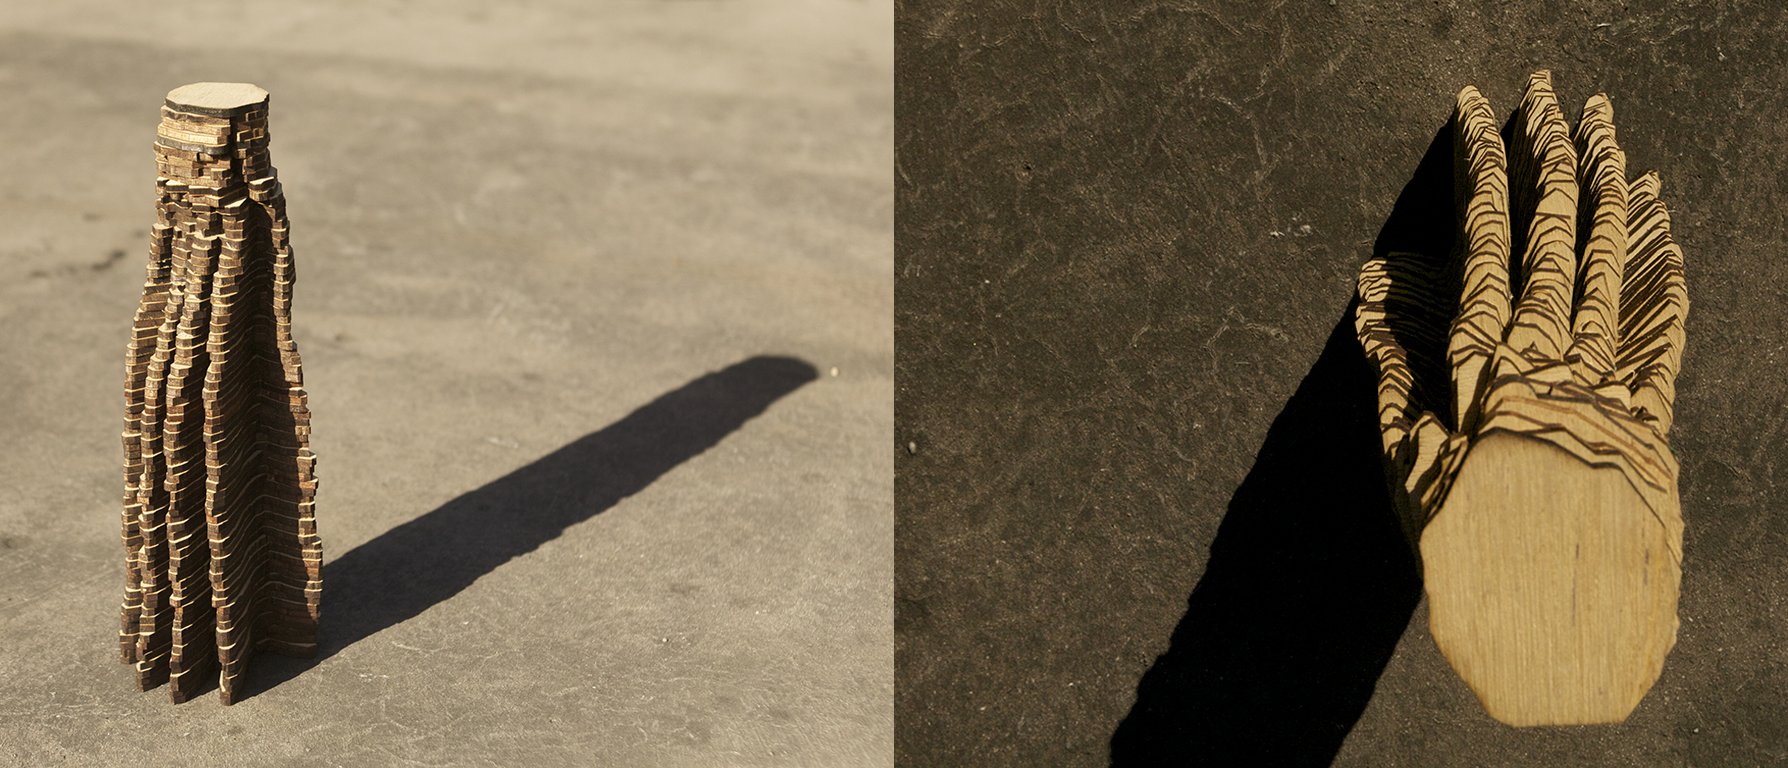
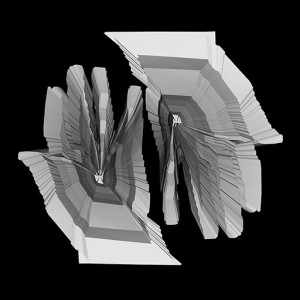
My first thought was 3D printing but this was before Makerbots and cheap desktop versions, and before easier software toolkits for constructing 3D objects. I was using Dave Griffiths’s fluxus to render 3D objects from swept hand gestures like waving, grabbing, swiping in the air, and they looked fantastic on the screen and in Blender when I cleaned them up, but they were impractical to print because of the incredible cost of printing solid objects on ZCorp’s 3D printers. You can see in the picture below my somewhat structurally unsuccessful but aesthetically pleasing attempt to create inner shells inside these highly complex objects.

On the other hand, laser cutters were more accessible – cheaper, faster. Cutting out a series of slices of a 3D object from 3mm plywood sheets seemed a much better option for prototyping.
It wasn’t really. I did learn some great lessons about laser cutting, however:
- Find a good technician otherwise you will waste hours of your time
- Your material needs to be perfectly flat otherwise the laser will not focus on it and it will not cut
- The laser bed needs to also be perfectly level and calibrated!
- Regular plywood is cheap (I think it was £6/sheet) but takes quite a bit of energy to cut. Now that I’m more experienced, I should have used laser ply! (This is why you need a good technician, to tell you these things)
- Make sure you know what version of the software your lab is using. If it’s Adobe Illustrator 4, make sure you use a template that works with it! (Correct color mode, correct bed size, correct colors to identify cuts and engravings etc.)
- Book at least twice as much time as you need. It will always take longer.
The sculptures were interesting, but I was never fully satisfied with the shapes. They were missing something… they were too “flat” in a sense, even though they stacked up to add depth. It’s interesting to look at Inmi Lee and Kyle McDonald’s later collaboration Mother which used the Kinect to record hand gestures and turn them into point clouds. If only I’d had access to some decent 3D software and could afford a to use a 3D printer back then!
I really like the more organic, bubbly nature of the forms and the way the fingers sprout from them at odd angles. It’s fascinating to think that we can turn ephemeral moments such as waving hands and vibrating sounds into solid objects and study them as if they were separate things.
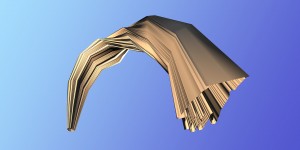
I settled for more sculptural methods, turning these airy gestures into solid landscapes populated by tiny people going about their business:

Still, I got some good images out of the exhibition. You should see them printed on high-quality paper with metallic inks – quite lovely and with a great shine and colour depth. If you want to purchase one in the series, drop me a line!

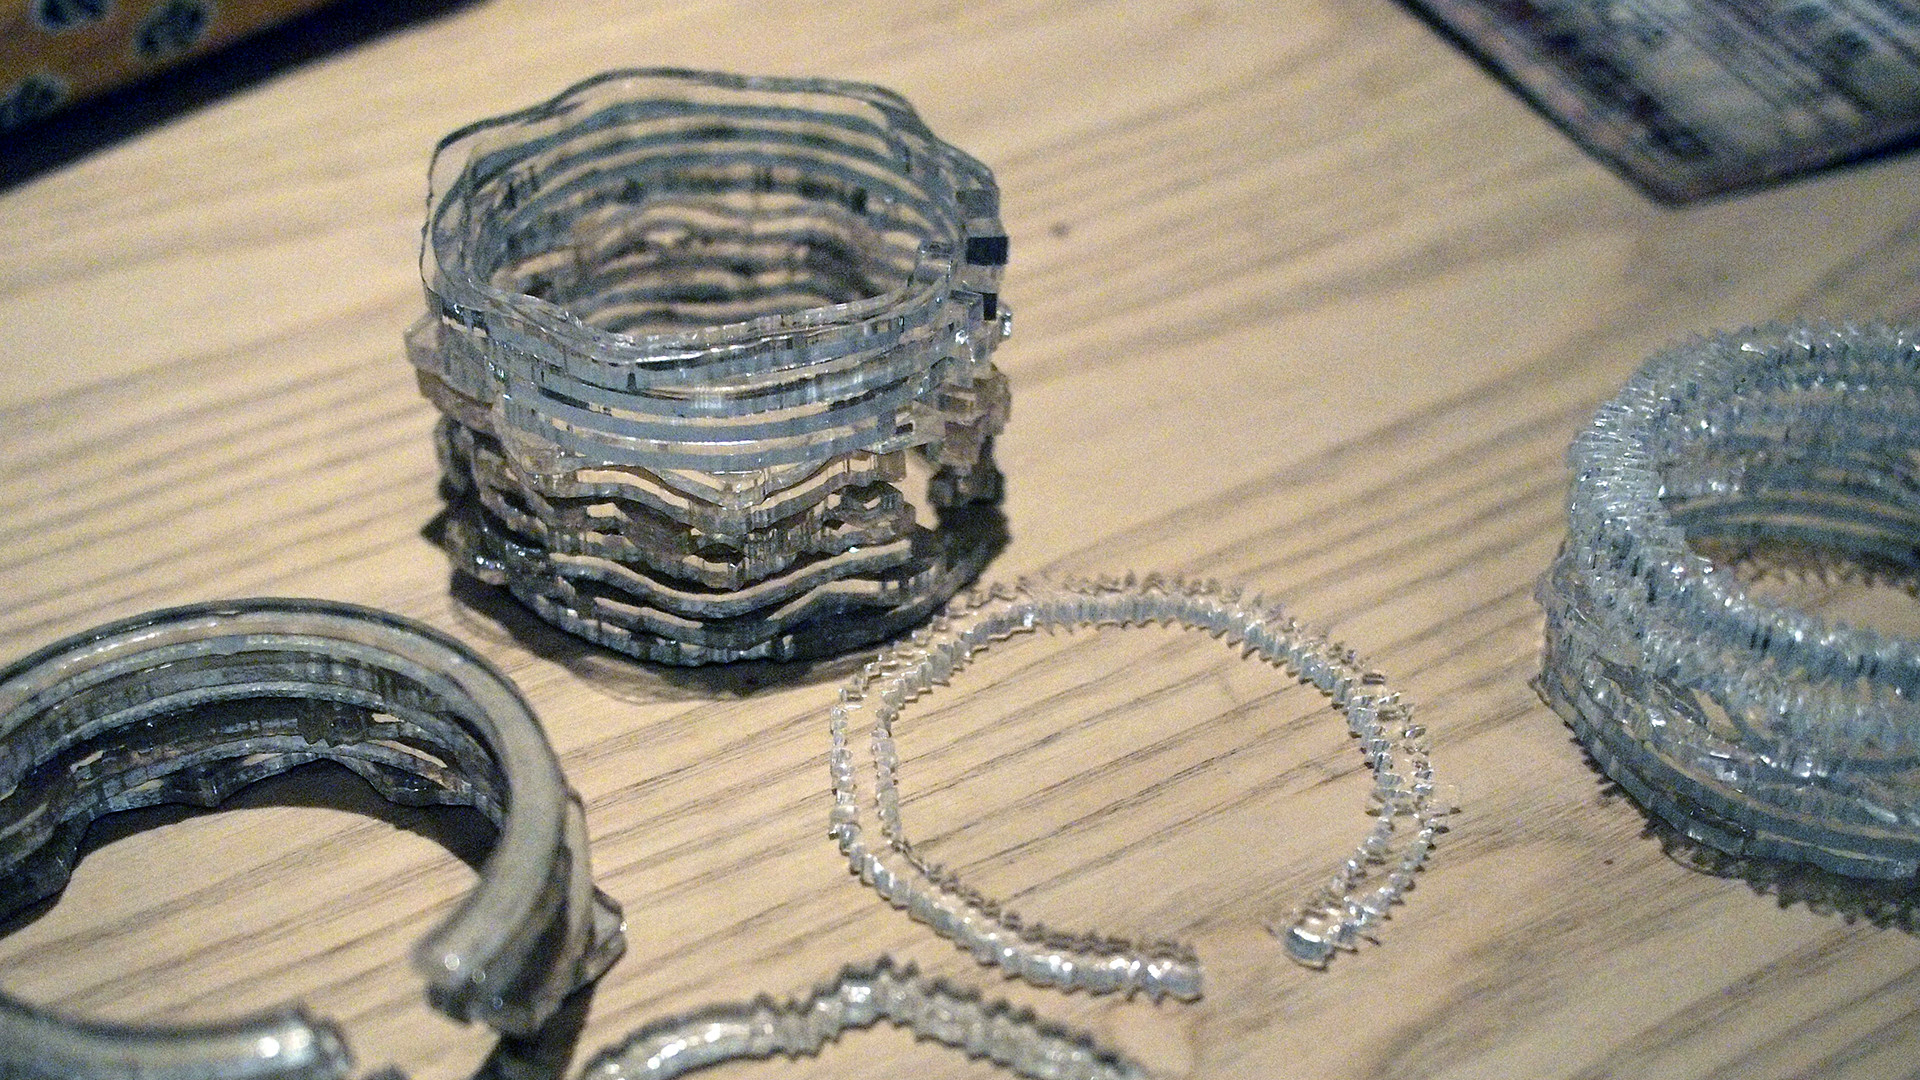
A few years later I wanted to make unique bracelets for my mother as a birthday present and came back to this idea of laser cutting rings of data – in this case, the sound of her name being spoken.
Video: Laser cutting rings from clear acrylic
You can see the results here – they have a lovely finish but were still hard to “read” and understand as discrete parts of a single, linear series of forms, and they were very brittle. Certainly not wearable.
I did experiment later on with some quick cardboard mock-ups that were larger and thicker. They had a very earthy quality due o the cardboard and you could pick out the sound details very easily from each individual ringlet, but weren’t very comfortable as bracelets.
Finally I found the motivation to start writing a program for creating 3D waveforms when I started teaching a class at Ravensbourne to the BA Design Interactions students called “Tangible Media.” For one of the assignments I had the students walk around London recording sounds and then we experimented with different ways of representing that data, from location-based online maps to graphs and other visualisations of the waveforms and sound data itself.
For a demo, I made a simple 3D render using Processing that took a waveform and unwrapped it into a spiral. It was very 1980’s – very chunky and pretty simplistic in how it mapped the audio data as blocky extrusions radiating outwards from a centre spiral form.
Still, as a prototype of what could be possible, it was pretty successful because I was able to (finally!) make a 3D-printable model from it, and along the way experiment with different aesthetics for the piece.
When you start sculpting 3D forms, it’s very different than carving forms from blue foam or wood or stone. When you carve into a substance, you remove material to reveal the form within. When you create a 3D form, you are inventing something completely new from sheer nothingness. You have to supply the (intellectual) material and then mentally carve away at it until you arrive at that inner form. You define the hidden constraints, the physics, the symmetries, and then change them at will.
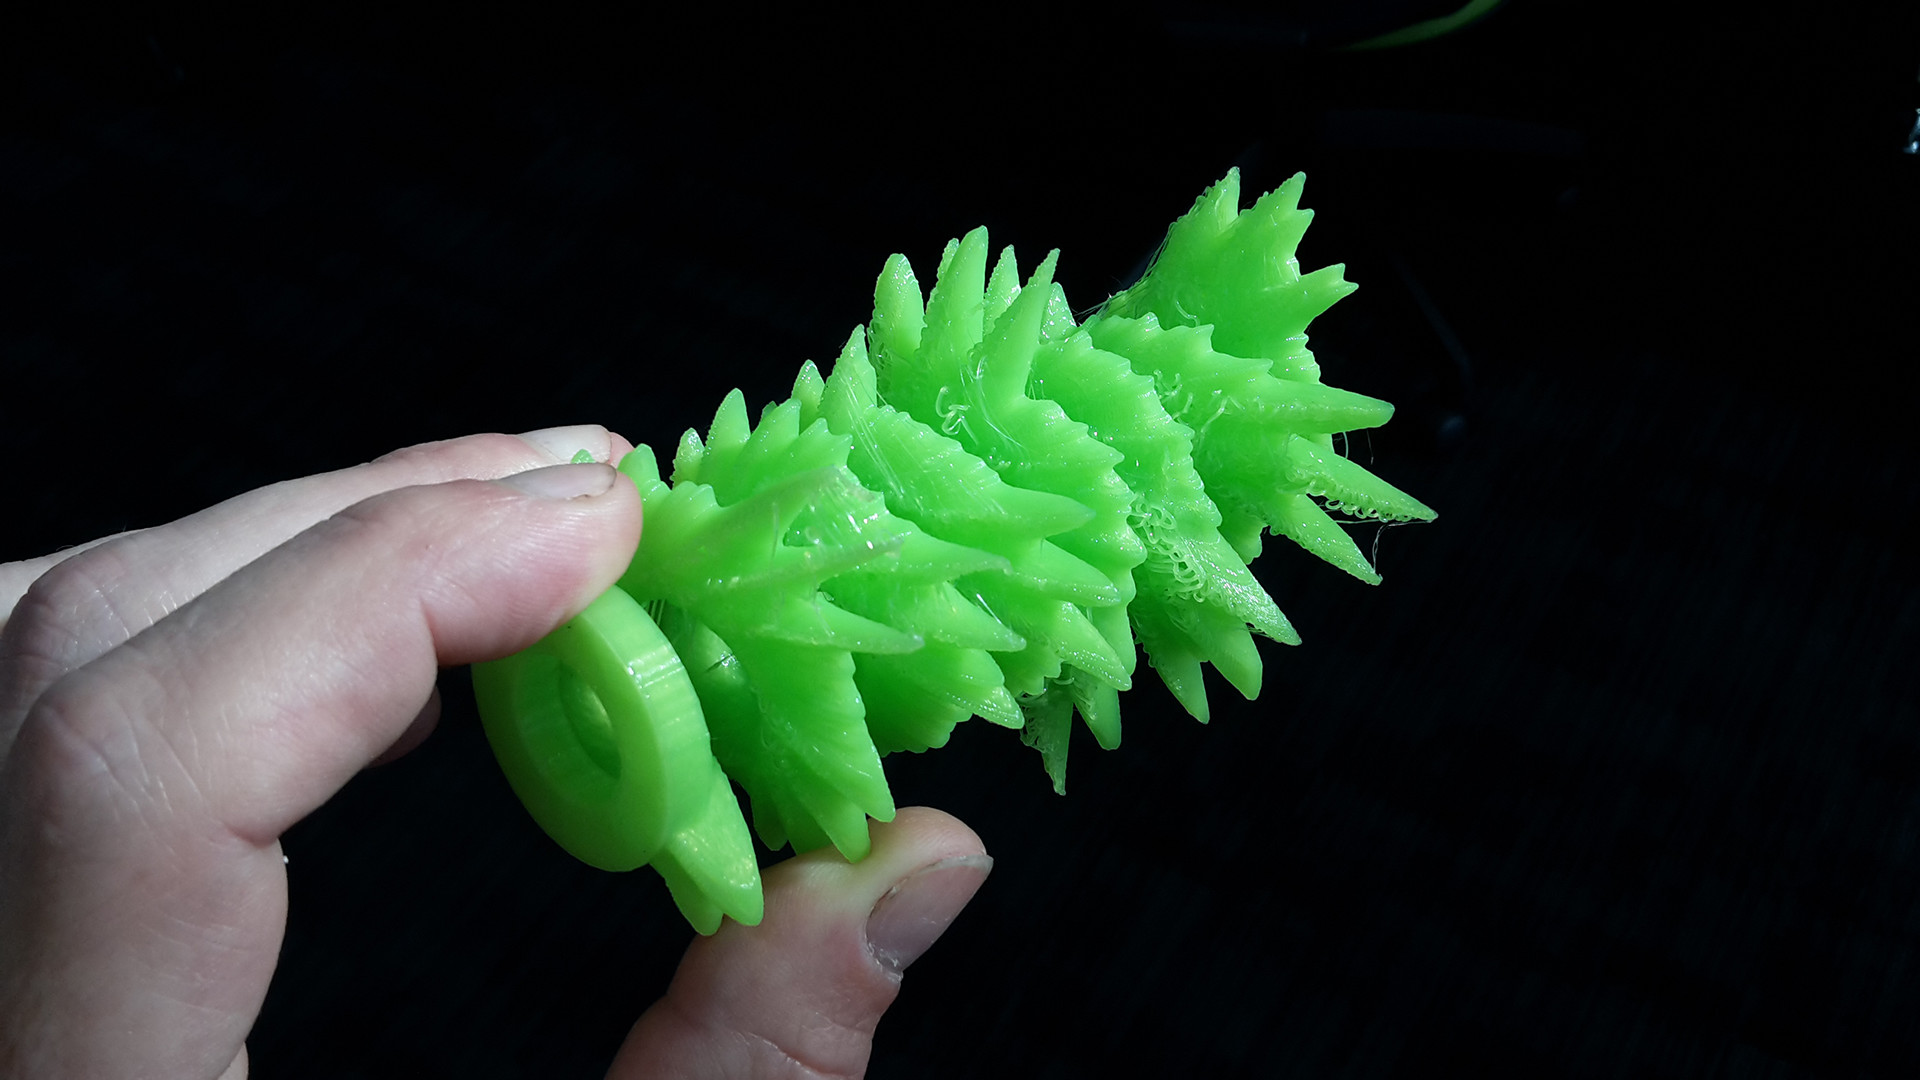
Unless you want to someday bring your forms into the physical world. That’s where I found the most difficulty, because taking something intangible that lives between the panes of glass (or plastic) in your computer monitor and giving it a body means bowing down to the laws of physics, and more importantly, the craft of machine making. You have to understand every step the machine will take to assemble your sculpture and how your 3D form either enables or works against this process. For example, I found that trying to print such a complex shape that extruded in defiance of gravity at right angles required support material to keep the radiating spikes of volume from collapsing, but trying to remove all of them meant sitting for hours picking away at plastic scabs and leaving the final form with a rough, gritty finish.
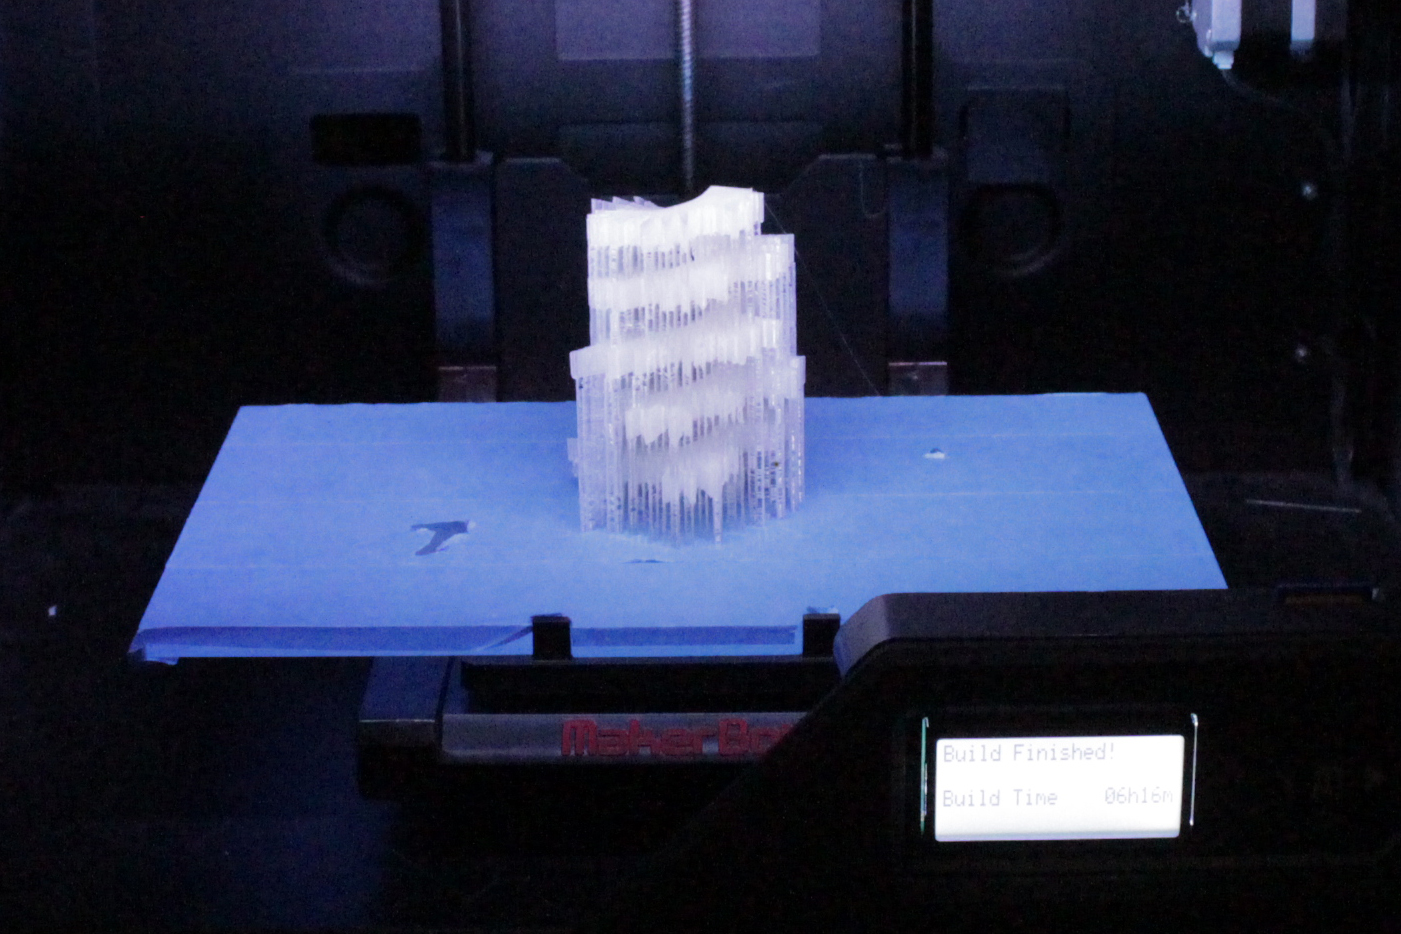
What I needed was a method for printing a complex, free-standing spiral shape without any support materials. The forums at http://reddit.com/3Dprinting were a great resource because I found different test videos designed to test the angle at which the ribbons of hot plastic that make up each solid print would start collapsing under their own weight. I noticed that in videos of rounded, spiral shapes, that angle seemed quite steep, possibly due to having more of the surface area of the material in direct contact with itself in a rounded form than in an angular, rectangular form.
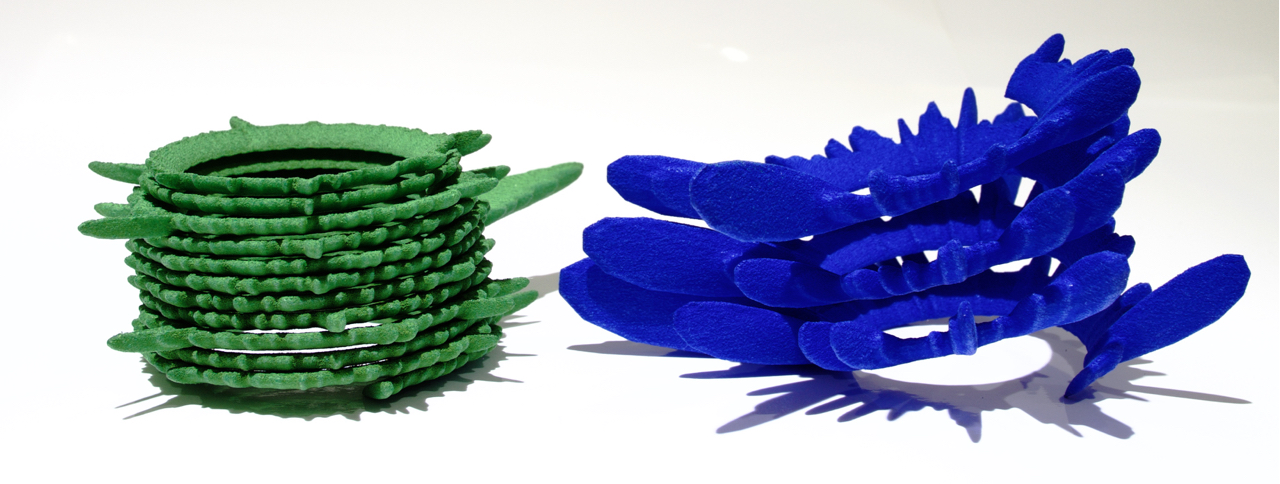
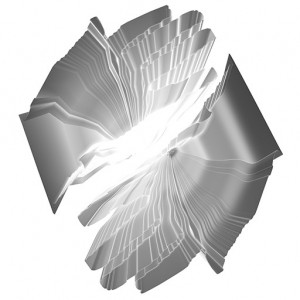
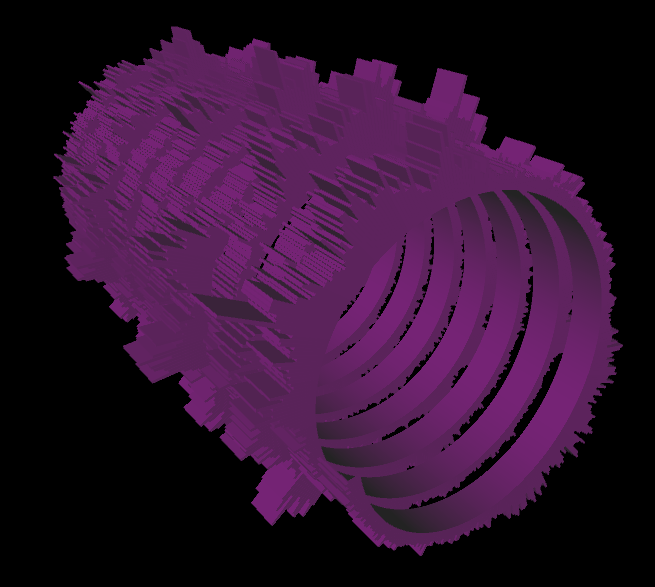
That’s pretty much where I’m at now, except for the experiments I’ve made using the laser sintering 3D printing technique that Shapeways uses (which you can see in the main image for this post).